
Air Fryer Chips UK
For fresh chips, cut evenly, dry thoroughly, coat lightly and begin within a 180 to 200 degrees Celsius range. For frozen oven chips, follow the current packet first. Timings vary by appliance, cut and basket load.
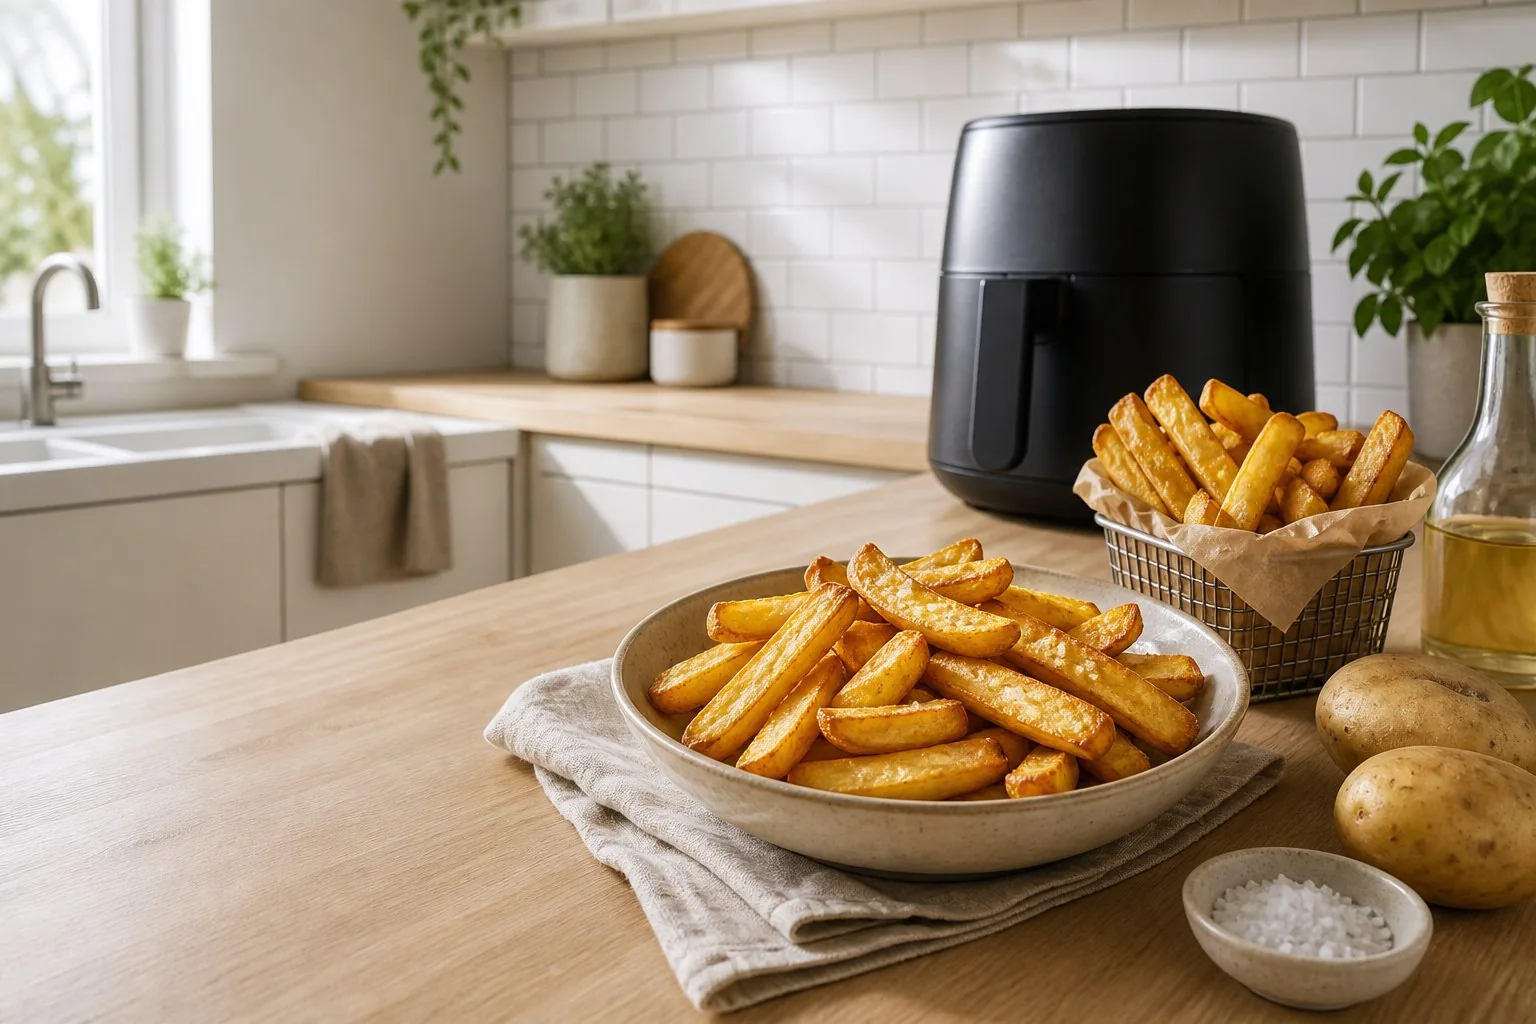
Fresh and frozen chips need different starting methods
Fresh potatoes benefit from even cutting, surface drying and a light oil coating. Frozen oven chips are already prepared, so their current packet and appliance instructions take priority over general advice.
Air fryer chips: fast answer
Use these as visible starting points, then follow the packet and your appliance.
| Type | Temperature | Starting time | Action |
|---|---|---|---|
| Fresh homemade chips | 180-200°C | 16-22 minutes | Dry well and shake two or three times. |
| Frozen oven chips | Follow the packet first | Follow the packet; otherwise check early | Usually no extra oil unless the label says otherwise. |
Ingredients and equipment
This example batch is a practical reference, not a fixed serving or nutrition claim.
About 500 g fresh potatoesIngredients
- About 500 g floury potatoes
- Up to 1 tablespoon rapeseed or sunflower oil
- Salt or other seasoning, added to taste
Equipment
- Air fryer and basket
- Chopping board and sharp knife
- Colander
- Clean tea towel or kitchen paper
- Mixing bowl
- Silicone-tipped tongs or basket handle
Fresh and frozen starting ranges
These are check-and-adjust ranges, not completion promises. The frozen product label and appliance manual take priority.
| Type | Preparation | Temperature | Starting range | Check and adjust |
|---|---|---|---|---|
| Fresh homemade chips | Roughly 1 to 2 cm thick | 180 to 200 degrees Celsius | 16 to 22 minutes | Start checking at the lower end; shake two or three times. |
| Frozen oven chips | Use the product as supplied | Follow the packet first; commonly 180 to 200 degrees Celsius | Follow the packet first; otherwise begin checking within 15 to 22 minutes | Shake during cooking and stop when the centre and colour suit the product instructions. |
Fresh homemade chips: step by step
Use the ranges as a starting point and let the chips and appliance determine whether a short adjustment is needed.
- 1
Cut evenly
Cut fresh potatoes into chips of roughly similar thickness. A 1 cm chip normally cooks sooner than a 2 cm chip, so avoid mixing very thin and very thick pieces.
- 2
Rinse or soak if using that method
Rinsing removes surface starch. Some manufacturer methods specify soaking homemade chips in cold water for about 30 minutes; treat this as an optional method, not a universal rule.
- 3
Dry thoroughly
Drain the chips and dry the surfaces carefully. Water left on the potatoes can delay browning and make oil coat them unevenly.
- 4
Coat lightly
Toss the fresh chips with up to 1 tablespoon of oil for the example batch. Use enough for a light, even film rather than leaving oil pooled in the bowl.
- 5
Load with airflow space
Spread the chips as loosely as the basket allows. If they form a deep, tight pile, split the amount into batches rather than relying on a longer fixed time.
- 6
Cook within the starting range
Use 180 to 200 degrees Celsius and start checking early. Shake or turn two or three times so different surfaces are exposed to the circulating air.
- 7
Check before serving
The chips should be hot through, with a centre texture and surface colour you are happy with. Add only short increments when they need more time.
Troubleshooting the next batch
Change one variable at a time so you can see what your appliance and preferred cut need.
Pale chips
Dry the next batch more thoroughly, check that the appliance has reached its selected setting and avoid a tightly packed basket.
Uneven cooking
Cut more consistently, shake more than once and move chips from the outer edge towards the centre.
Soft chips
Reduce basket depth, dry well and give the hot air room to circulate. Add a short increment only after checking.
Overcrowding
Cook a smaller batch. Extending the timer cannot fully compensate when surfaces are shielded from airflow.
Burning edges
Check earlier, use thicker cuts or reduce the temperature within the stated range for the next batch.
Fresh chips
Cut evenly, optionally rinse or soak, dry thoroughly and add a light, even oil coating.
Frozen oven chips
Use the packet instructions first. Frozen products usually need no added oil unless the label says otherwise.
Basket space
A loose layer exposes more surface to airflow. Split a deep pile into batches where necessary.
Shake and inspect
Shake or turn two or three times and start checking before the upper end of the range.
Thickness changes time
Thin chips cook sooner and can catch at the edges; thick chips need more time for the centre.
Judge the chips
Look for a hot centre, the texture you prefer and even surface colour, then add only short increments if needed.
Related guides
Frequently asked questions
No universal rule applies. Some manufacturer methods recommend about 30 minutes in cold water. If you use that method, drain and dry the chips thoroughly before adding oil.
Treat 180 to 200 degrees Celsius as a research-based starting range, then follow your appliance and packet instructions and check the chips during cooking.
For the example fresh batch, begin with a 16 to 22 minute range. Frozen products should follow their packet first. Thickness, load and appliance design can change the time.
Common causes include wet surfaces, a deep crowded basket or insufficient shaking. Dry the potatoes, reduce the batch and expose more surfaces to airflow.
No. It is research-based guidance assembled from current manufacturer instructions and official food-safety sources, with no first-hand testing claim.
Frozen chips and homemade chips in an air fryer
The two methods need different preparation. Use the packet instructions as the starting point for frozen chips; for homemade chips, size, surface moisture and oil distribution change the result.
Frozen chips in an air fryer
- Preheat only if the manufacturer recommends it.
- Keep the chips in a loose layer and avoid packing the basket.
- Shake or turn during cooking so exposed edges brown more evenly.
- Check early because thinner chips cook faster than chunky chips.
Homemade chips in an air fryer
- Cut the potato pieces to a similar thickness.
- Rinse if desired, then dry the surface thoroughly before adding a small amount of oil.
- Cook in batches when the basket is crowded.
- Judge doneness by colour, texture and food safety rather than time alone.
Safety: follow the appliance manual, keep the air path clear and use a food-safe thermometer when cooking foods where internal temperature matters. Times are starting points because models, loads and chip thickness vary.
For more cooking guidance, read the best air fryer UK guide or compare capacity using the size calculator.